Problem
How to set up Azure DevOps for Git Version Control?
Solution
Define Project
- Login to https://dev.azure.com or sign up
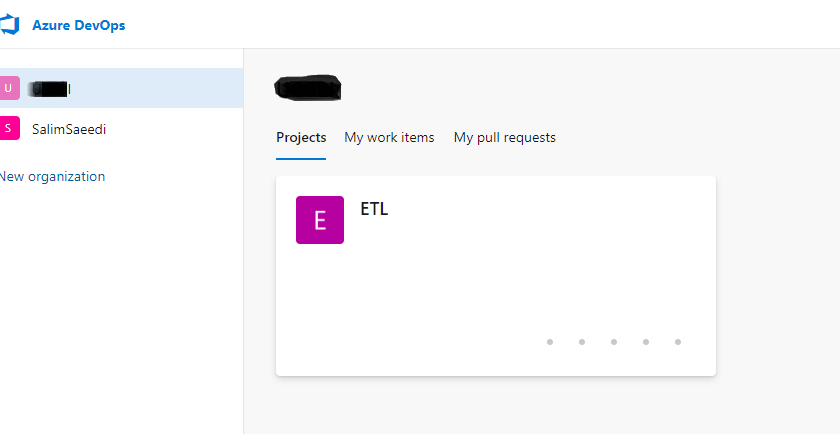
- Click “New Project” to create a new project. Set the visibility to Private (if needed)
- You will have a project tile as below
Set up File Repo
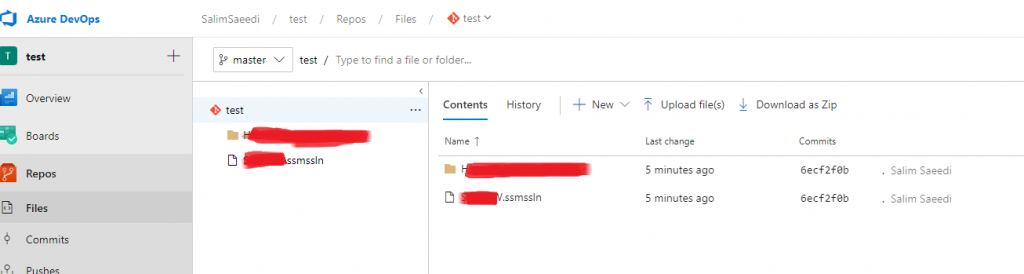
- Go to a project’s page and navigate to “Repos/Files” section

- The Repo could be used to store any file. Including VS projects, SSMS project, Power BI files or any other file.
- If you are starting a blank project (e.g. a new project in VS), click on “Clone in VS code” and continue the set up in VS
- If you want to add an existing folder containing an existing project (in VS or else) or any file, follow these steps:
- Install Git for Windows https://git-scm.com/download/win
- Create a new folder for the project. Like C:\Test\
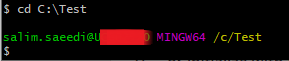
- Run Git Bash software
- Navigate to C:\Test
- Copy the clone address from DevOps

- Run the command “git clone <clone_address>

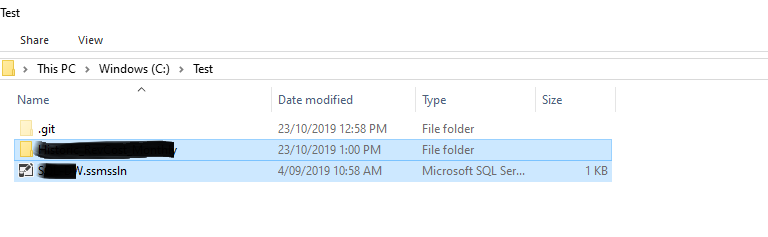
- Now copy your existing files (it doesn’t matter what they are) to C:\Test\
- Open Git GUI
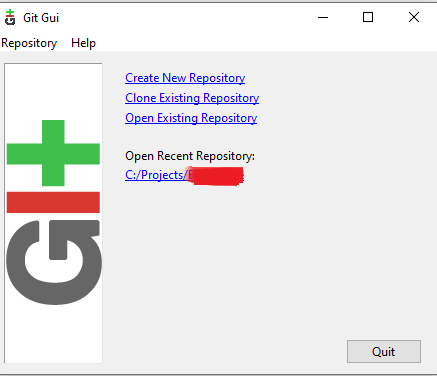
- Select “Open Existing Repo” and select “C:\Test”
- Type a commit message and press “Commit”
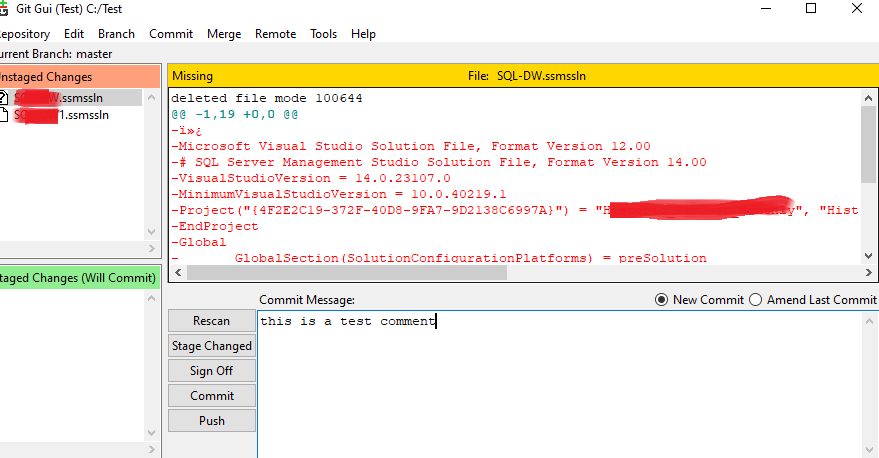
- Click Push. Select the desired branch and then “Push” again

- If the Push is successful, refresh Azure Devop’s webpage in Repos/Files and you will see the files there
- You can use Git GUI to manage your project’s version control.
Version Control through VS
If you are working on a VS solution and need to do the version control, do the following
- Connect to the Git Repo by going to Team Explorer/Connect. You need cloning url to be able to connect

- Click on the drop down at the top of Team Explorer
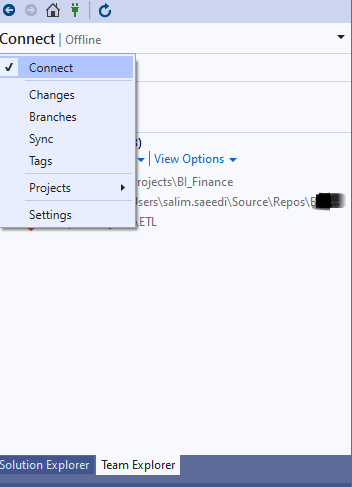
- Now you can:
- Commit changes (Changes option)
- Create/switch branches (Branches option)
- Sync/Push/Pull (Sync option)